
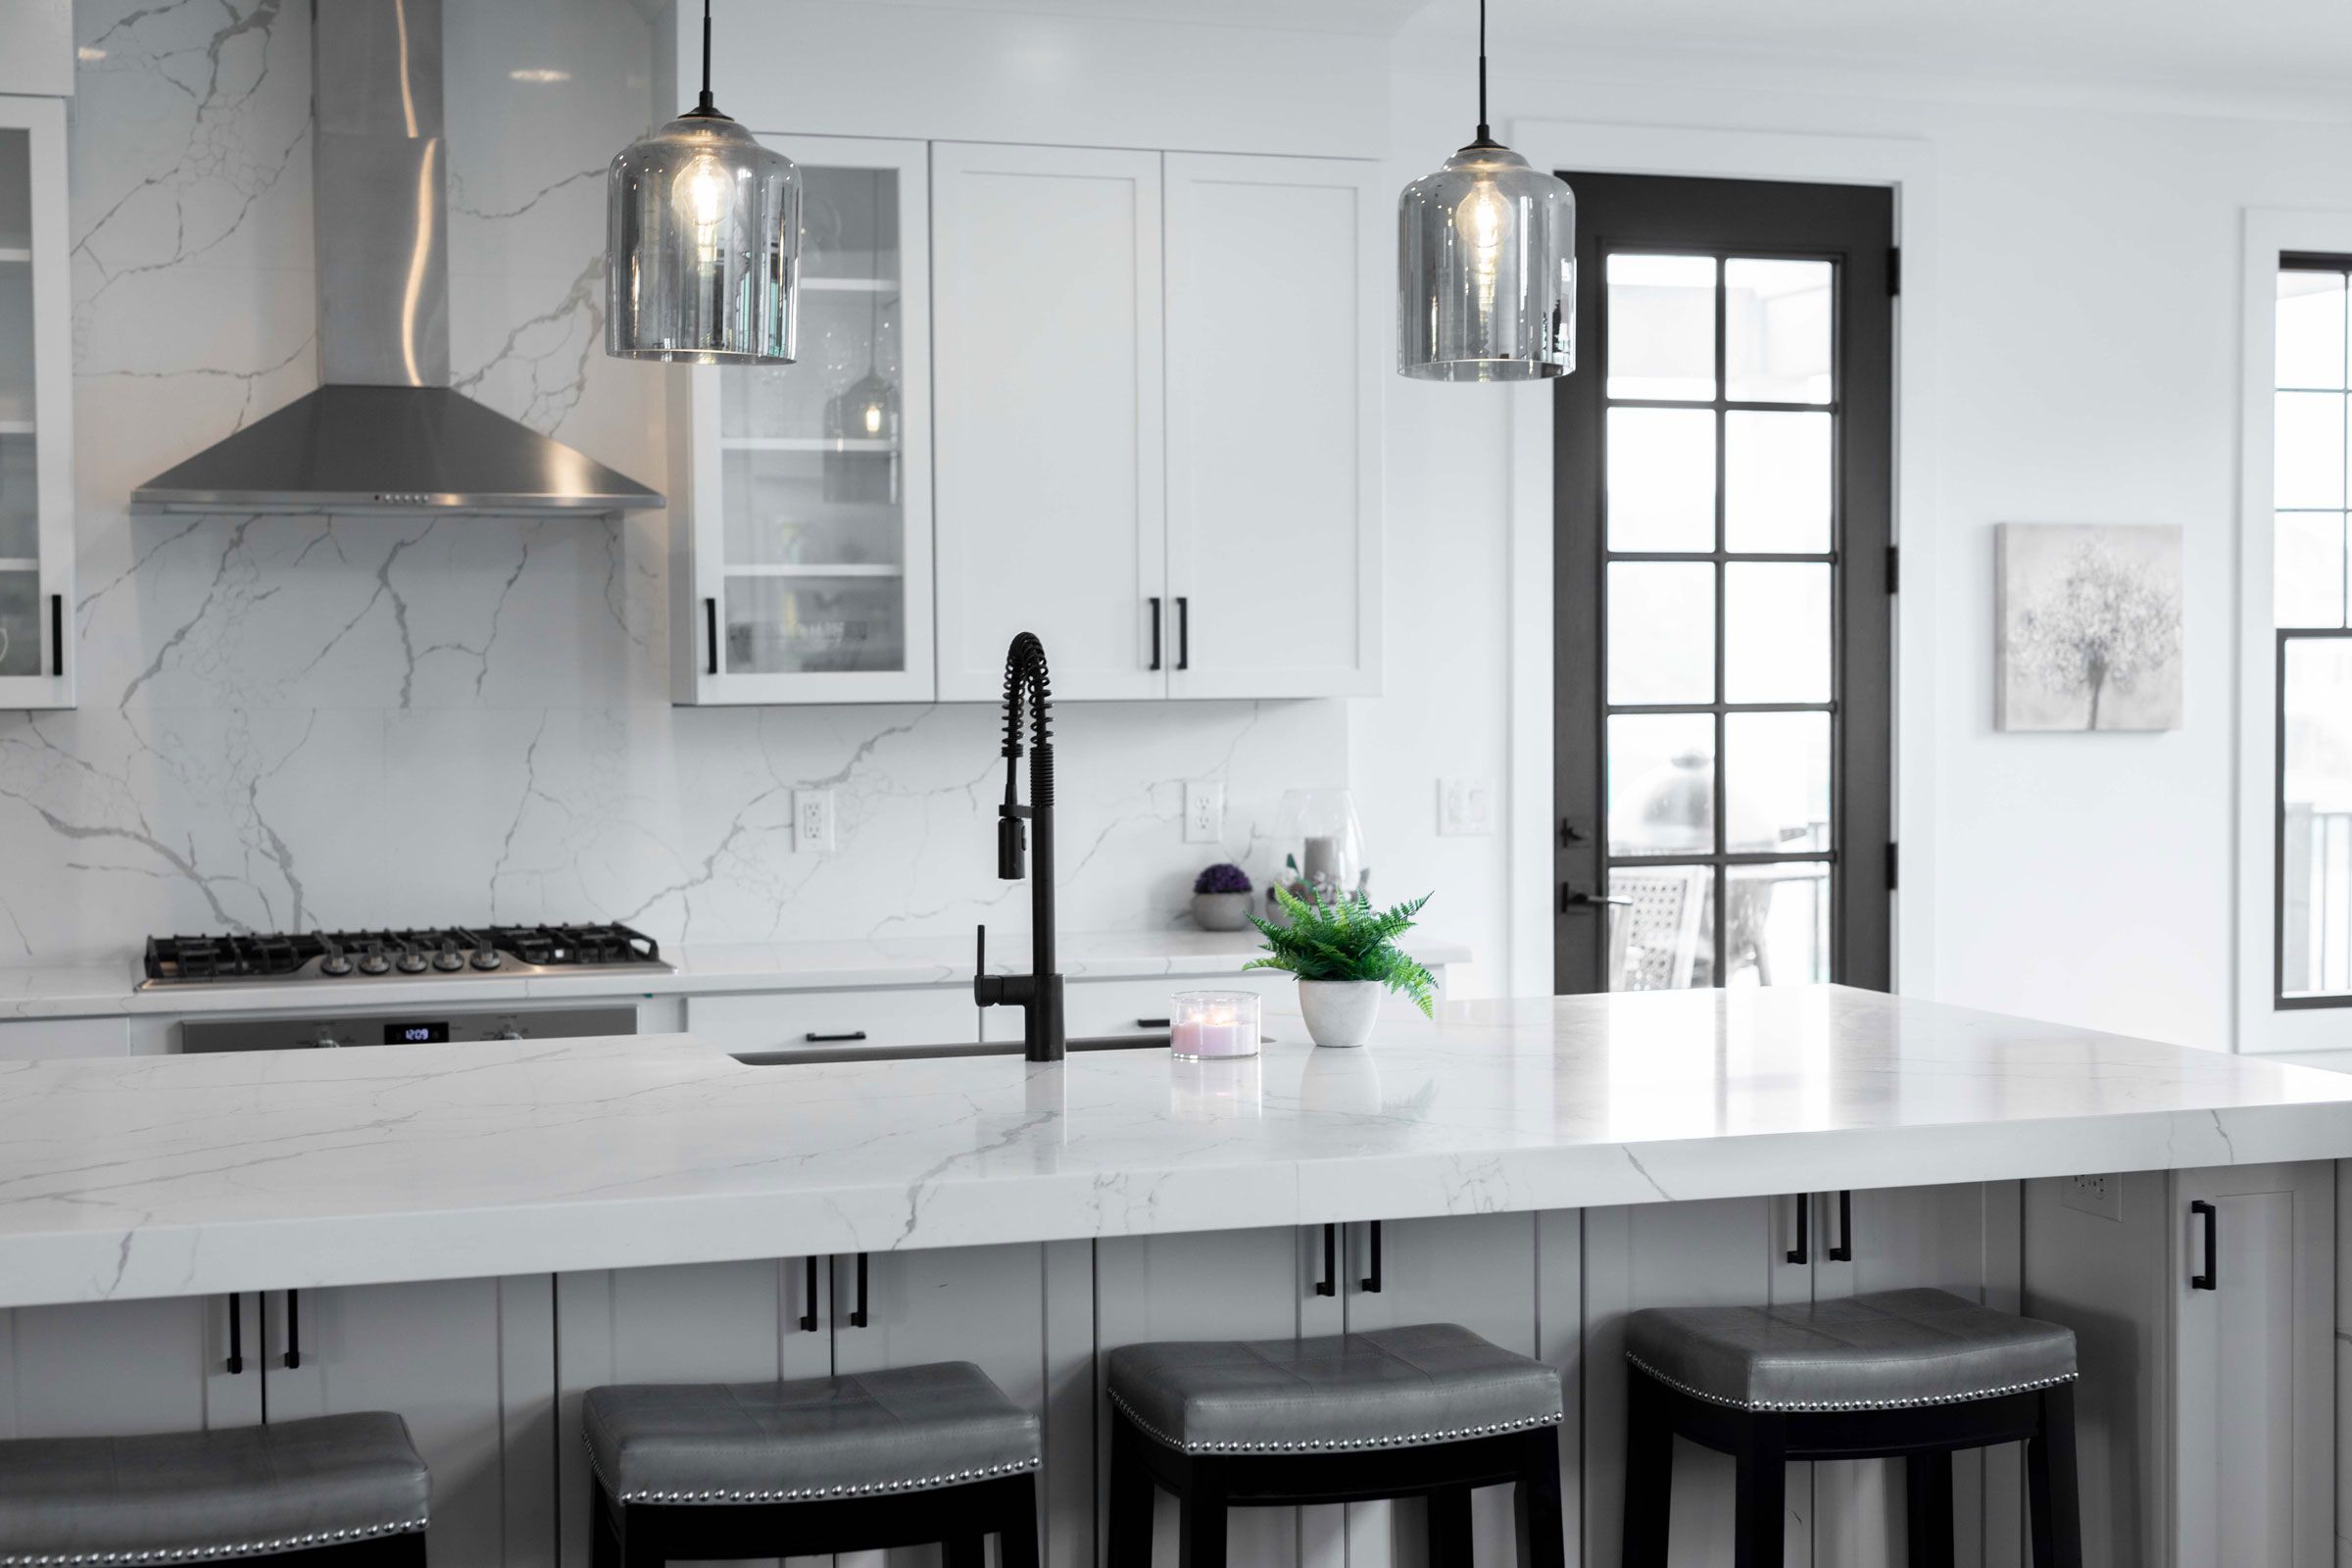
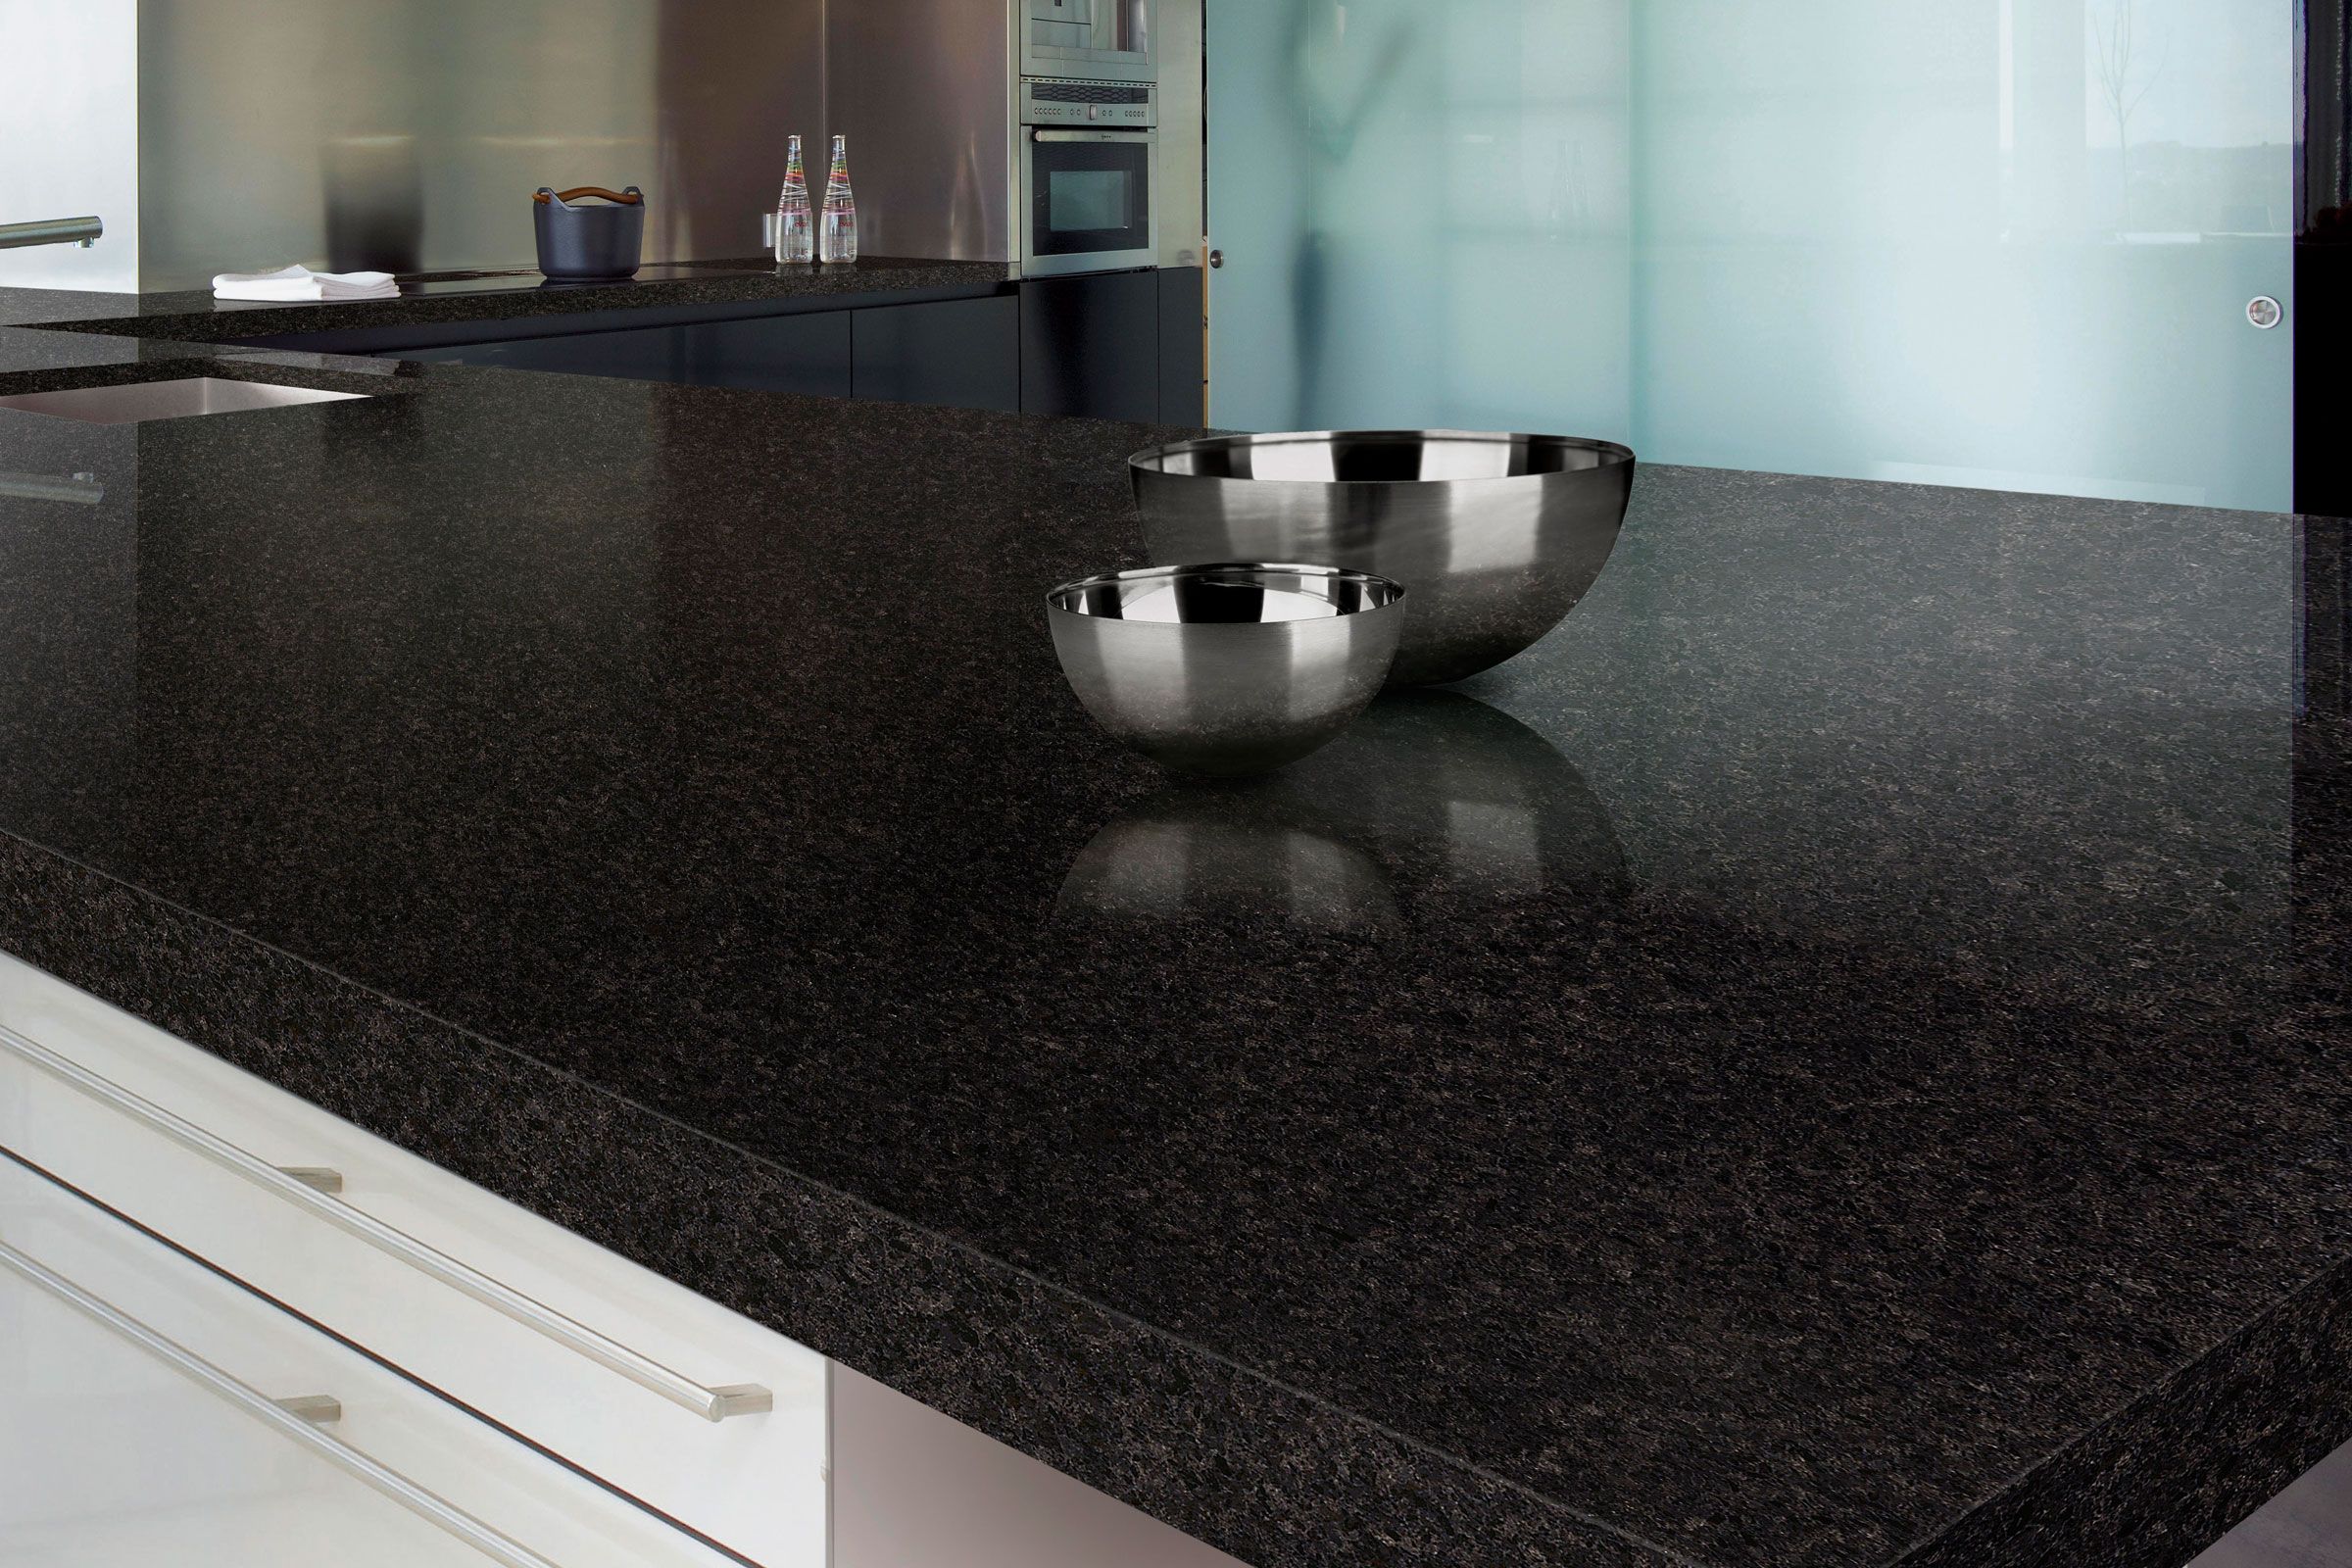
Understanding the Basics of Quartz Countertop Measurements
A crucial first step of any new countertop endeavor is accurate measuring. This process, while seemingly straightforward, is foundational for perfect fit and aesthetic.
Welcome to your guide to nailing your quartz countertop measurements.
The Importance of Accurate Measurements
Accurate measurements are the cornerstone of a successful countertop installation – here’s what’s on the line:
- Gaining perfect alignment, physically and stylistically
- Avoiding gaps, overhangs, costly adjustments, or delays
Fundamental Concepts for Quartz Measurement
The process of measurement involves more than just measuring the length and width of your existing countertop space. It includes:
- Length, Width, and Depth: These are the primary dimensions you need to capture.
- Measure the length and width of your countertop space from wall to wall.
- Measure the depth from the wall to the front edge of the countertop.
- Overhang: Consider the overhang, which is the portion of the countertop that extends beyond the base cabinets. Standard overhangs are typically 1-1.5 inches, but this can vary based on personal preference and design requirements.
- Backsplash: If you plan to have a backsplash, measure the height you desire. This is often overlooked but is crucial for a cohesive countertop installation.
- Edges: Decide on the style of the edge finish, as this can influence the overall measurements and appearance of your quartz countertop.
Preparation Makes Measuring Countertops a Breeze

Before diving into the actual measurement process for your quartz countertops, it's crucial to properly prepare. That will make the measuring process smoother and give the most accurate results.
Essential Tools for Accurate Measurements
Having the right tools at hand is vital for accurate countertop measurements. Here’s what you'll need:
- Measuring Tape: A long, flexible measuring tape is essential for measuring lengths and widths, especially for larger countertop spaces.
- Notepad and Pencil: Keep a notepad and pencil handy to jot down measurements as you go. Or, just use your phone. Either way, you want to document and avoid forgetting or mixing up numbers.
- Straight Edge or Ruler: A straight edge or ruler is helpful for ensuring straight lines and precise measurements, particularly for smaller or detailed areas.
- Calculator: A calculator will be handy for adding measurements and calculating square footage.
- Level: Use a level to check that your countertops will be perfectly horizontal. Uneven surfaces can lead to inaccurate measurements.
Pre-Measurement Checklist
Before you start measuring, follow this checklist to ensure you’re fully prepared:
- Clear the Countertops: Remove any items from your countertops, including appliances, to get an unobstructed view and access to the entire surface.
- Inspect Your Cabinets and Walls: Check that your cabinets and walls are level and plumb. Any irregularities can affect the installation of your quartz countertops.
- Understand Your Space: Take note of any features such as sinks, cooktops, or unique angles in your countertop layout. These will need special attention during measuring.
- Review Your Design Goals: Consider any specific design elements you wish to include, such as extra overhang for seating areas, or custom edges, as these will impact your measurements.
By following these steps and preparing adequately, you're setting the stage for a successful and accurate measurement process for your new quartz countertops.
Measuring Quartz Countertops

Time to finally do it! Here’s how:
Detailed Measuring Process
- Measure the Length and Width: Use a tape measure to record the length of your countertop along the wall from one end to the other. Repeat this process to measure the width from the wall (or backsplash) to the front edge of the countertop.
- Note the Dimensions of Fixed Objects: Record the dimensions and placement of any fixed objects like sinks, cooktops, or other built-in appliances.
- Measure the Overhang: Measure the overhang of your existing countertop (if applicable). This is the part of the countertop that extends beyond the cabinet base.
- Record Edge and Corner Details: Note any unique edge details or corner treatments that need to be replicated or modified in your new quartz countertop.
- Double-Check Measurements: Always measure twice to ensure accuracy.
How to Calculate Square Foot for Quartz Countertops
Calculating the square footage of your countertop is crucial for understanding how much quartz material you'll need and estimating the cost. Here’s how to do it:
- Multiply Length by Width: For each section of your countertop, multiply the length by the width to get the area in square inches. For example, if one section of your countertop is 36 inches long and 25 inches wide, the area would be 900 square inches.
- Convert to Square Feet: Since countertop material is often sold by the square foot, convert your measurements from square inches to square feet by dividing by 144 (since there are 144 square inches in one square foot). In the above example, 900 square inches equals 6.25 square feet.
- Add Up All Sections: If your countertop is divided into multiple sections (e.g., L-shaped countertops), calculate the square footage for each section and then add them together to get the total square footage.
- Consider Waste Factor: It’s wise to add a little extra for waste, especially if your countertop has complex cuts or angles. A general rule of thumb is to add about 10% to your total square footage for waste.
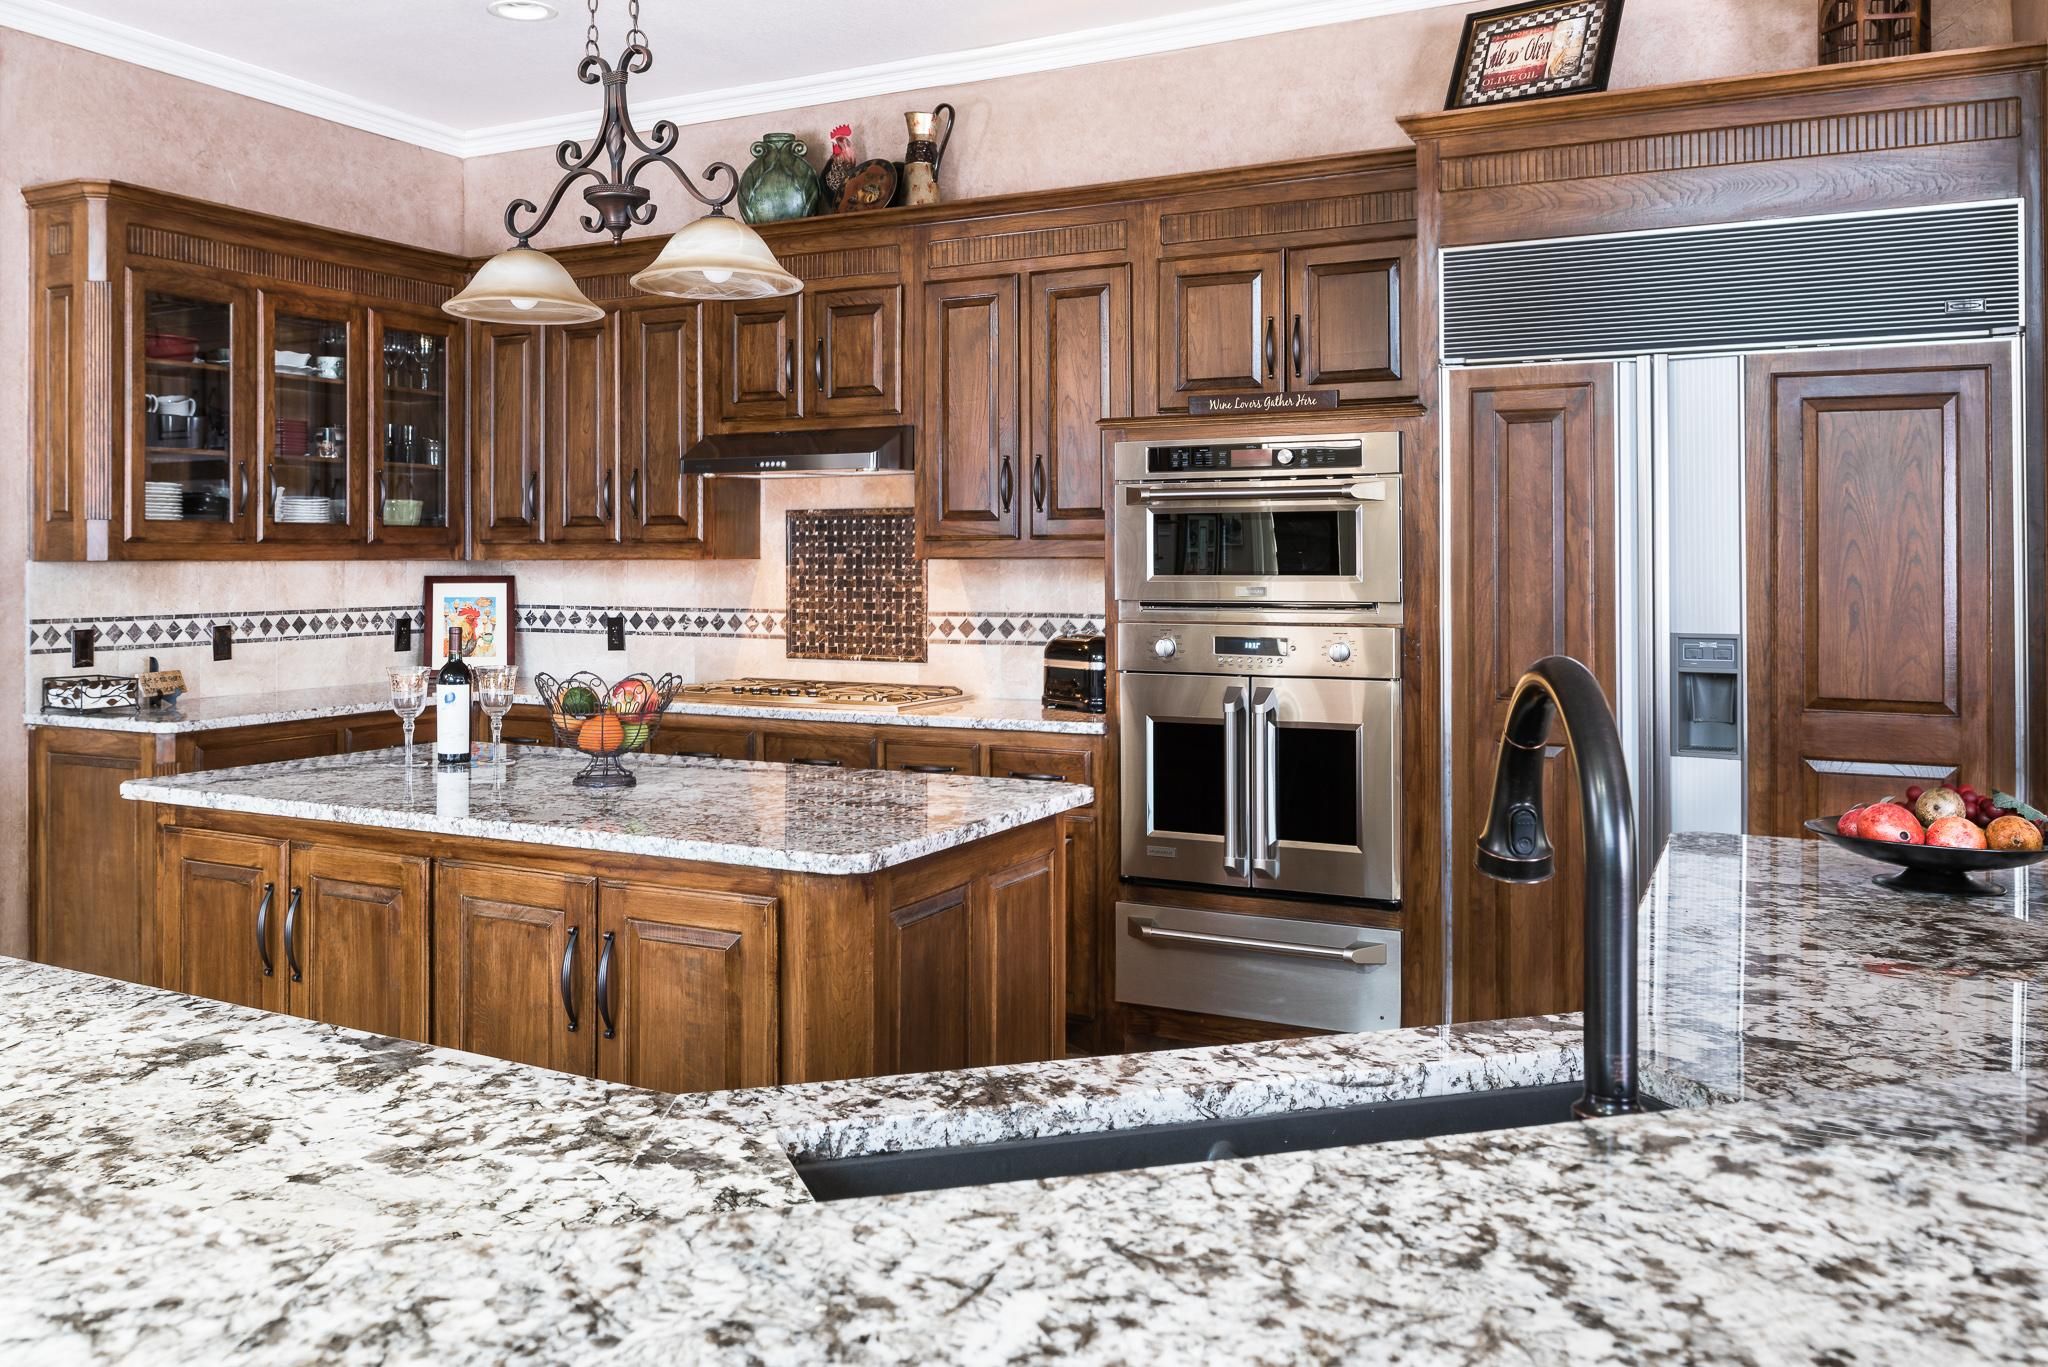
Incorporating Sinks and Appliances in Measurements
- Sink Type: Undermount, drop-in, farmhouse, or integrated sinks each require different considerations in the measurement process. For instance, undermount sinks need precise cutouts from the quartz slab.
- Appliances: Measurements must accommodate appliances like cooktops, dishwashers, or built-in ovens. Ensure there’s enough clearance and proper alignment with the countertop edges.
- Cutouts and Clearances: Precise cutouts are required for fixtures like faucets or soap dispensers. Additionally, consider the clearance needed for appliance doors, particularly in island setups.
- Templates: Creating a template can be an invaluable step, especially in complex layouts with multiple appliances or sink cutouts. It helps in visualizing the final setup and aids in accurate quartz cutting.
Following these steps will ensure you have a comprehensive understanding of the space and requirements for your new quartz countertops, setting the stage for a successful installation.
.webp?width=1170&height=846&name=image14%20(1).webp)
Talk to an Expert Today!
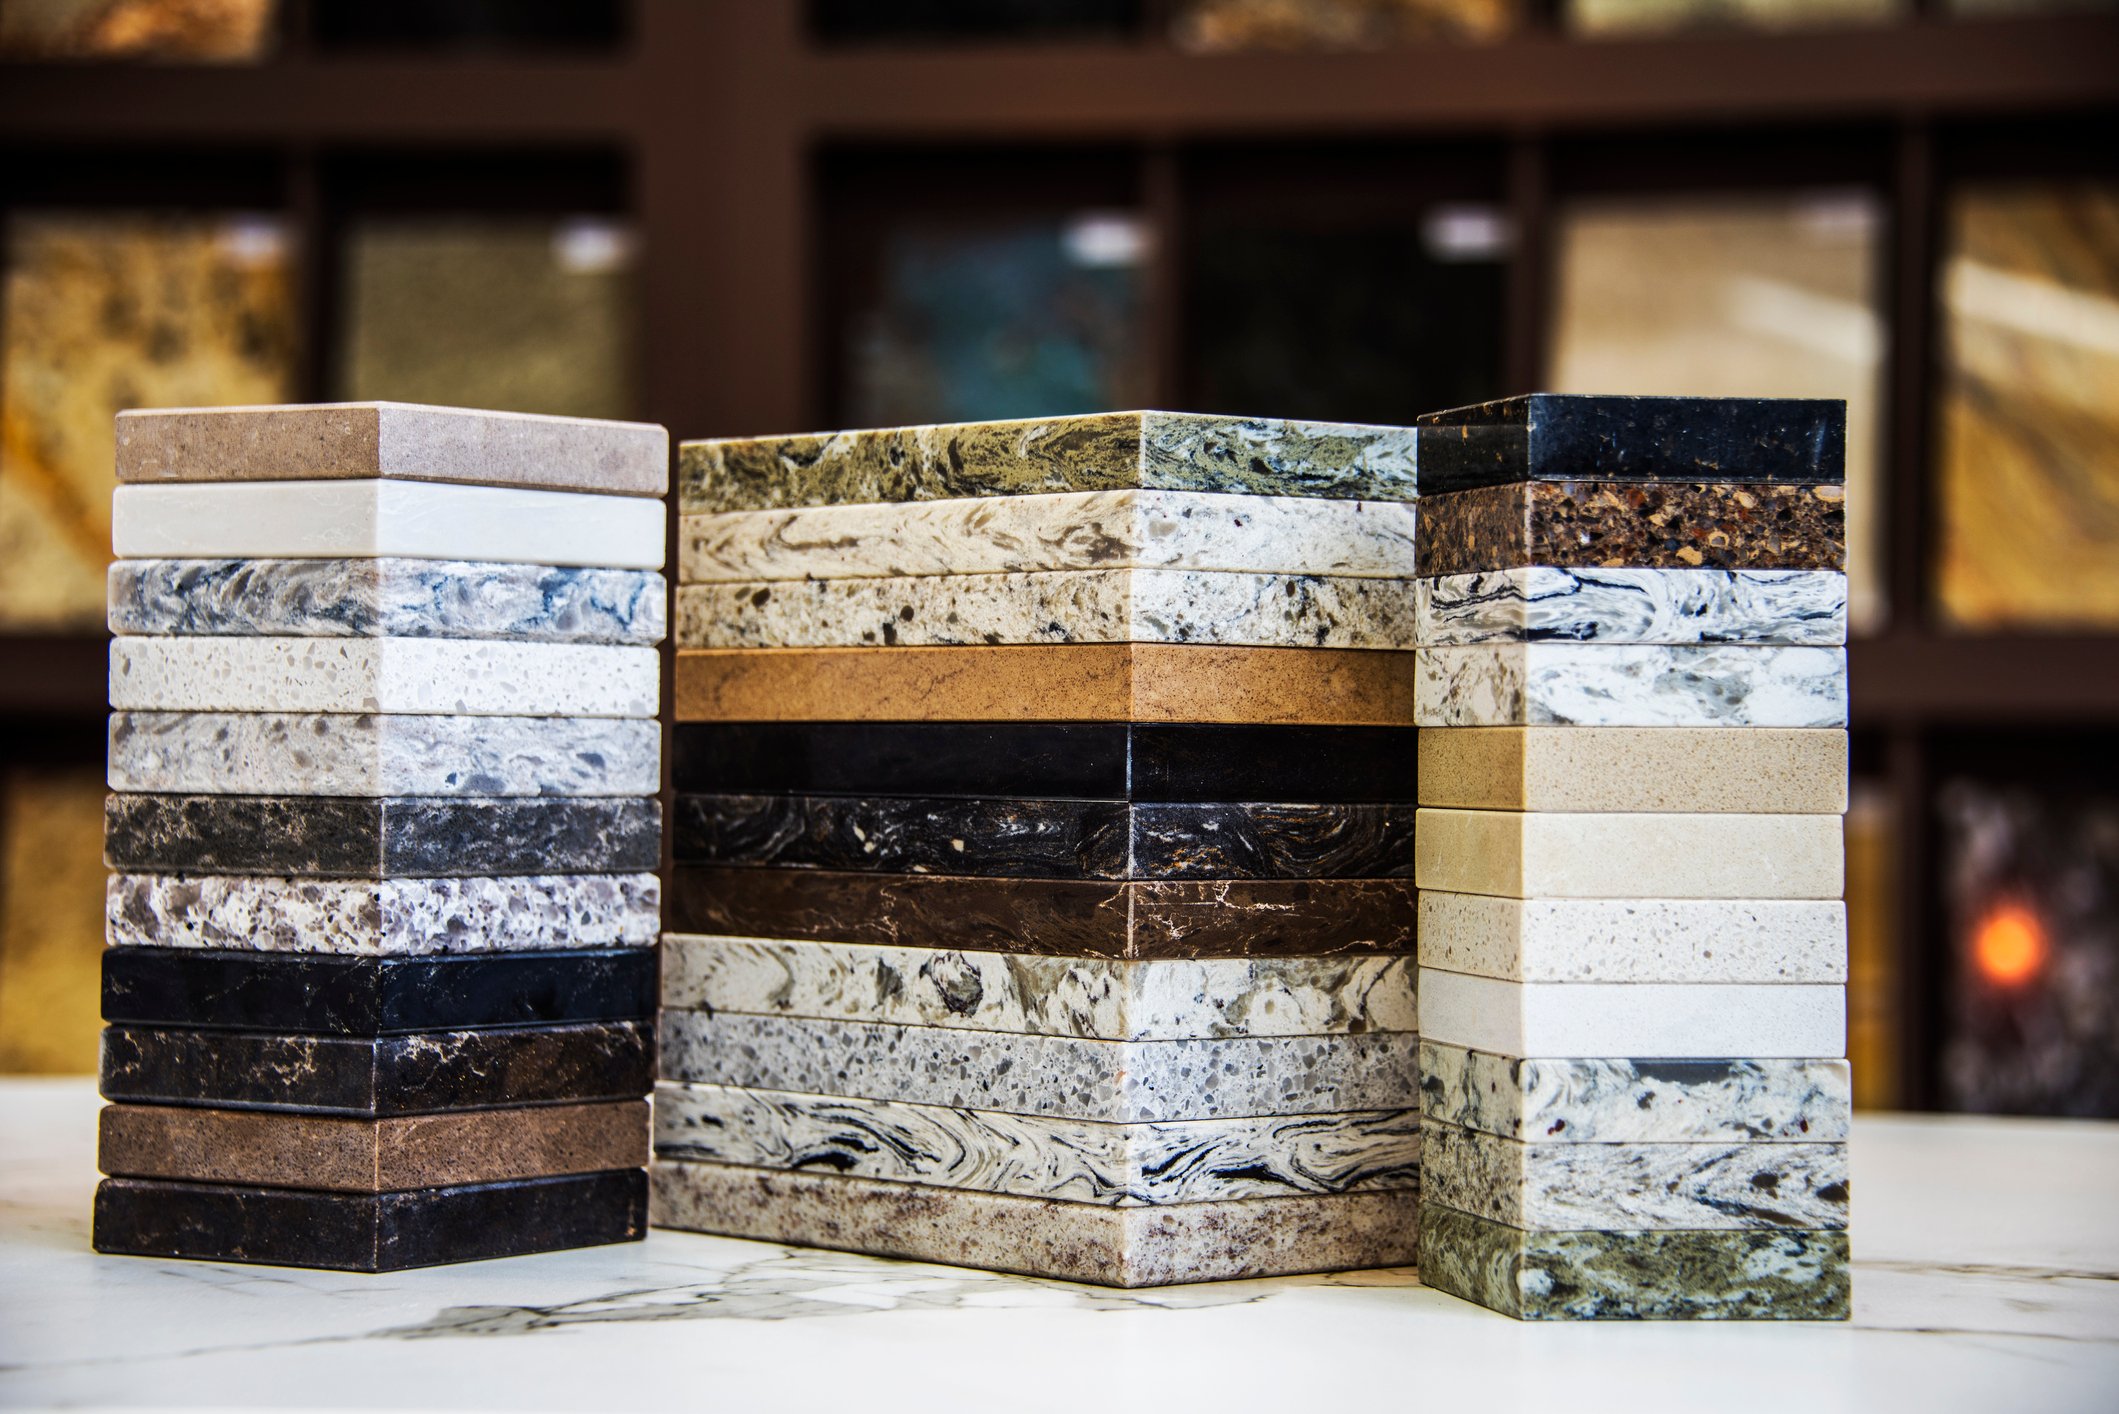
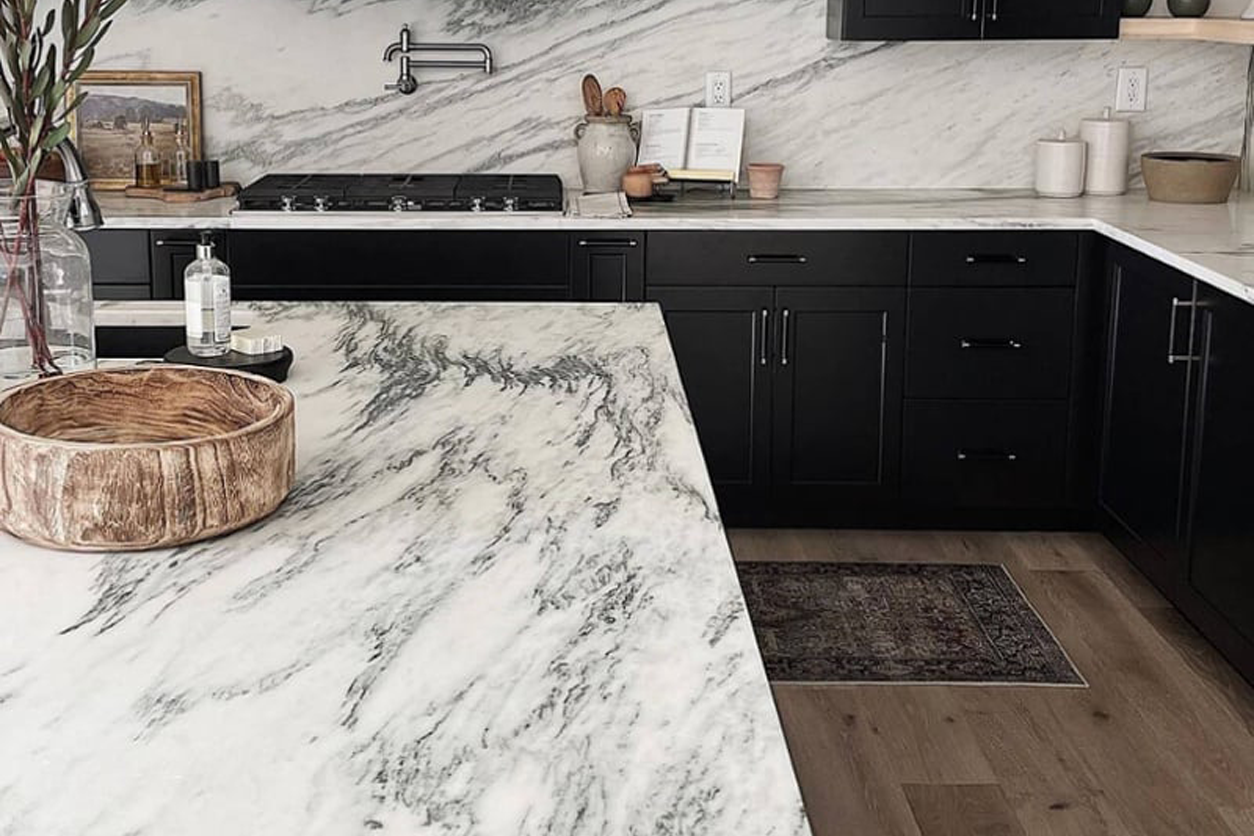
If you're considering quartz countertops, we invite you to contact The Granite Shop. Our team of experts is here to provide you with personalized guidance and an extensive selection of high-quality marble options. We understand the nuances of choosing the perfect countertop and are committed to helping you find the ideal match for your home, style, and budget. Visit us to explore our range of marble countertops and take the first step towards bringing your dream kitchen or bathroom to life.

%20(1)-jpg.jpeg)
.jpg)
.jpg)
-jpg.jpeg)